In this guide, we’ll walk you through setting up IPTV on Kodi and how to watch it on your Kodi app. We’ll explain everything you need to know to get started with IPTV on Kodi. This guide applies to all devices supporting Kodi, such as Amazon FireStick, NVIDIA SHIELD, Windows, Mac, smartphones, and tablets.
What is Kodi ?
Kodi is an open-source media player, serving as a free app and functioning as a digital media center. This app allows you to play your media and transfer it between different devices from a central location to other devices. You can use Kodi on most operating systems like Android, Microsoft Windows, Linux, iOS, and devices such as Amazon FireTV, smartphones, Apple TV, Xbox, and PC.
Setting Up IPTV on Kodi
Die Installation von Kodi ist erstaunlich einfach. Alles, was Sie tun müssen, ist Kodi herunterzuladen, auf das Kodi-Bild doppelt zu klicken und dann den Einrichtungsassistenten auszuführen. Es ist so einfach! Nach der Installation von Kodi können Sie eine große Auswahl an Add-Ons herunterladen, um das Erlebnis zu verbessern. Hier zeigen wir Ihnen, wie Sie IPTV auf Kodi installieren.
Part 1: Install the PVR IPTV Simple Client
The PVR IPTV Simple Client add-on allows you to set up IPTV on your device. So let’s install the add-on.
- Launch your Kodi app.
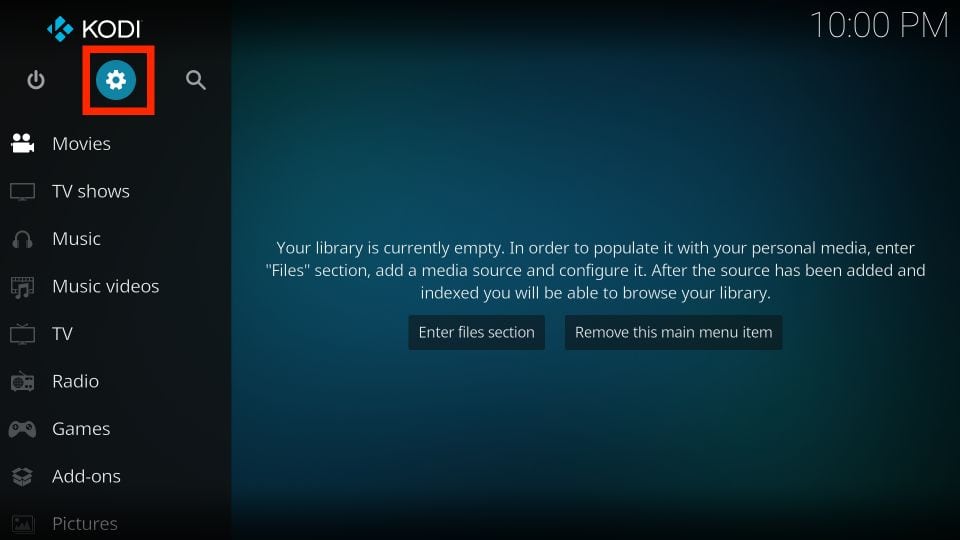
- Click on the gear icon at the top left, directly below the Kodi logo.
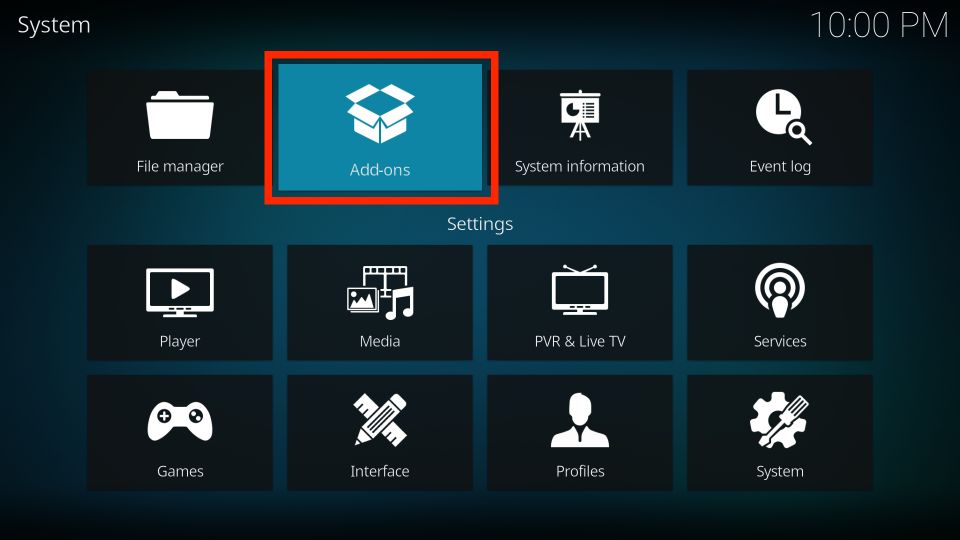
3.On the next page, select “Add-ons.”
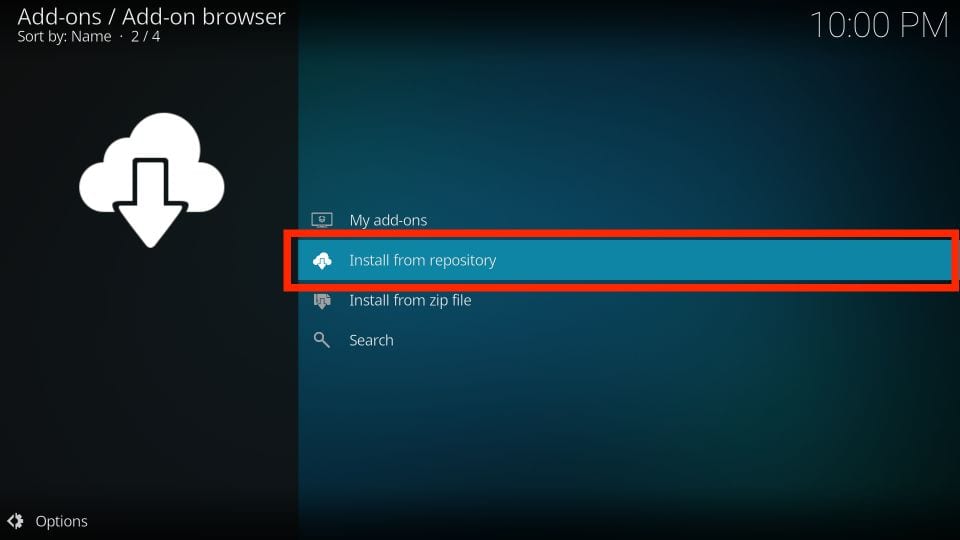
4.Then click on “Install from repository.”
5.Select “All repositories.”
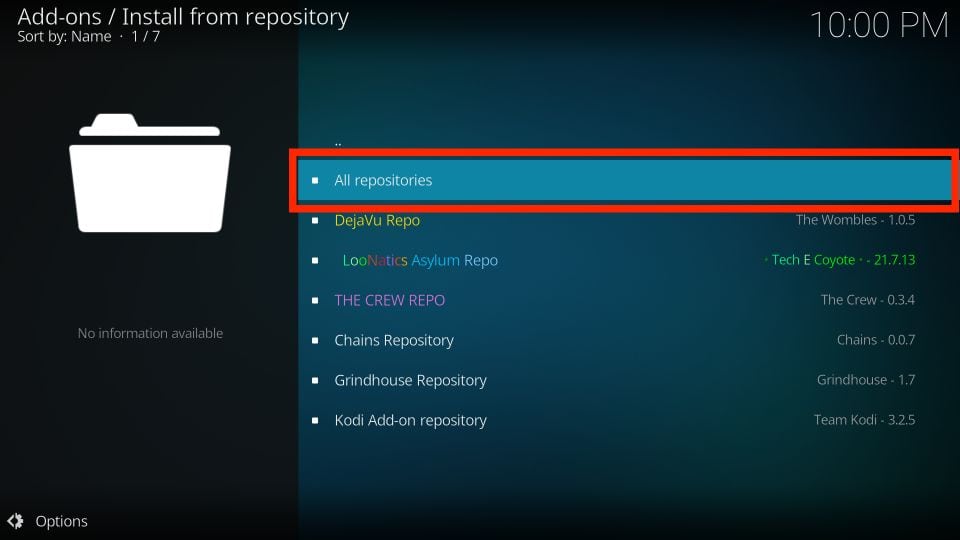
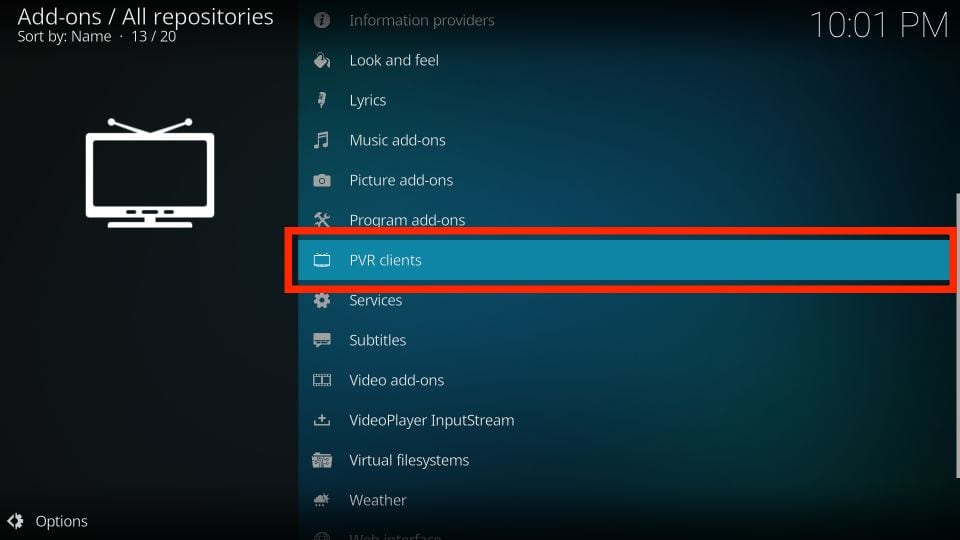
6.Scroll down on the next page and choose “PVR clients.”
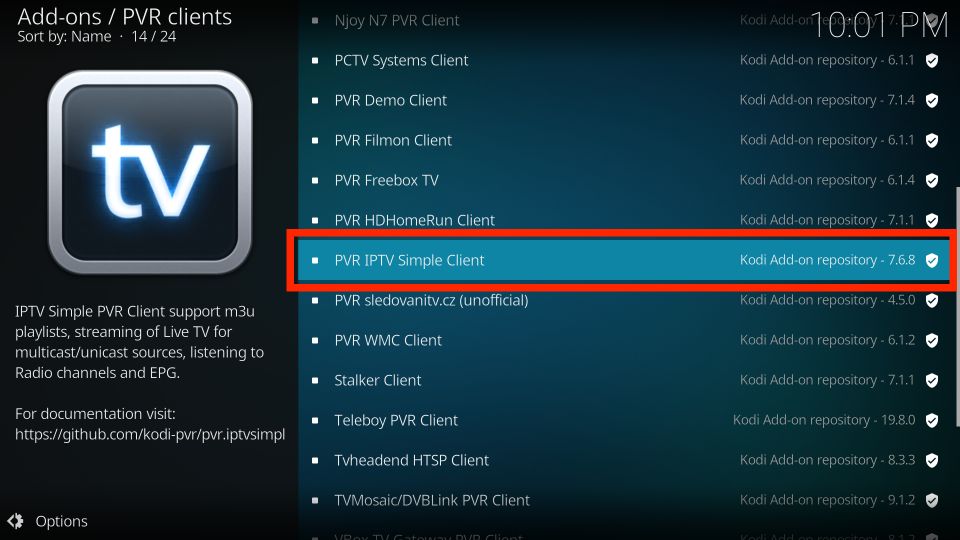
7.Then scroll further down and select “PVR IPTV Simple Client.”
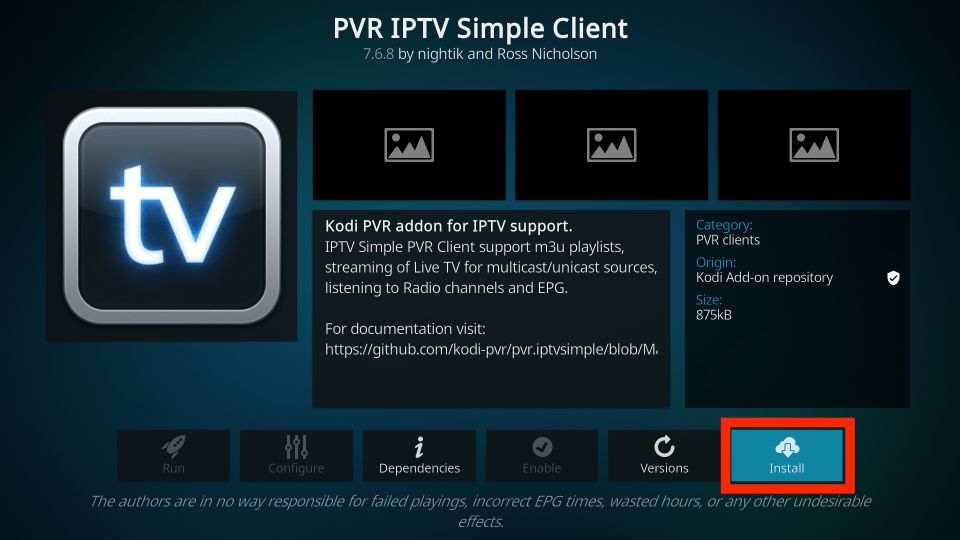
8.The add-on dashboard will open. Select “Install.”
9.Click “OK” to install the required supporting add-ons.
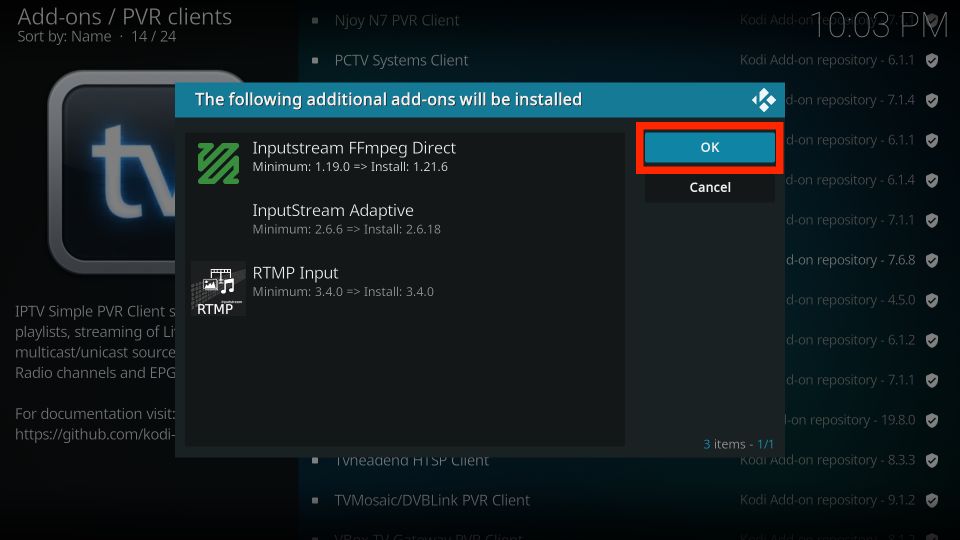
10.The PVR IPTV Simple Client will download in your Kodi app.
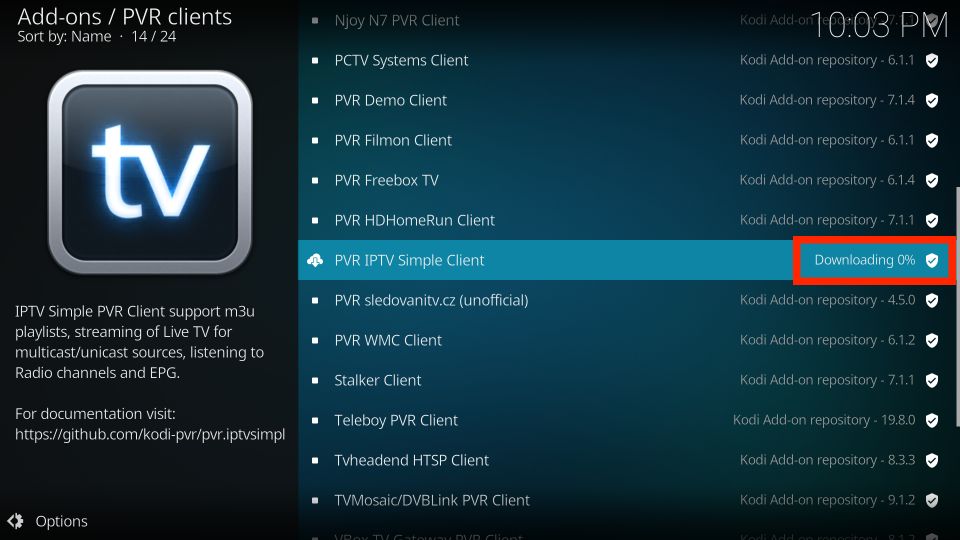
11.After a few seconds, the installation will begin.
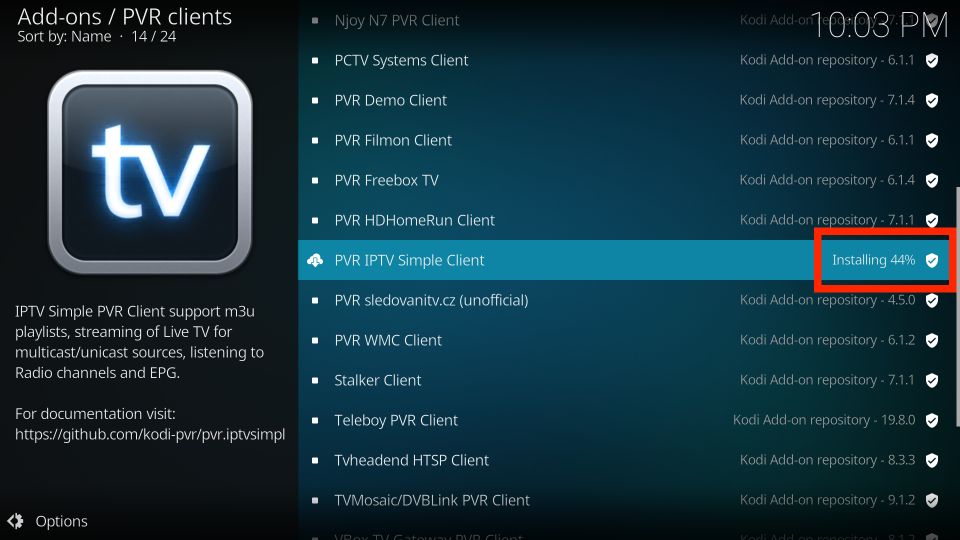
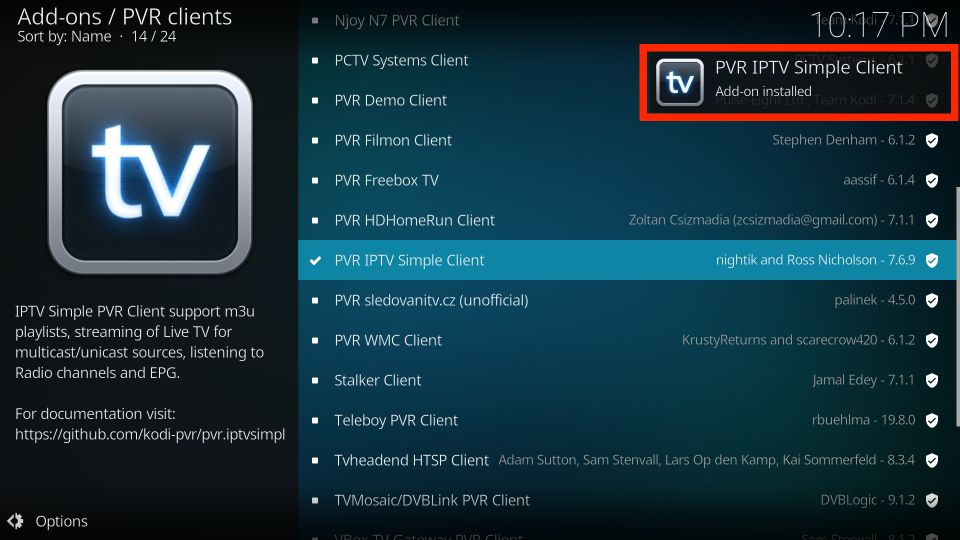
12.Finally, you’ll see a notification “Add-On installed” at the top right of your screen.
Part 2: Add an M3U Playlist to PVR IPTV Simple Client
You’ve successfully installed the PVR IPTV Simple Client in your Kodi app. But it’s useless if you haven’t configured it properly. Follow the steps below to add a playlist to the add-on for streaming IPTV:
- On the same screen, select the PVR IPTV Simple Client.
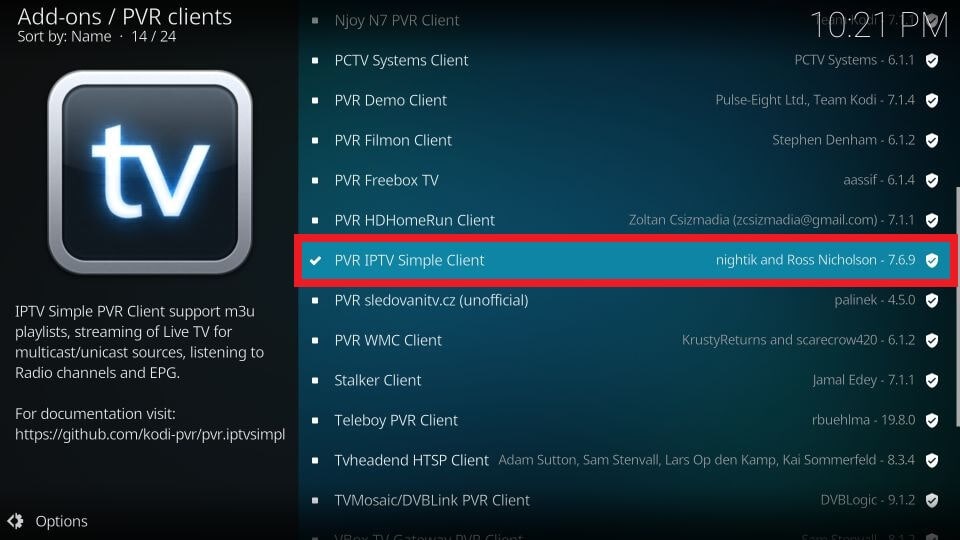
2.On the add-on dashboard, select “Configure.”
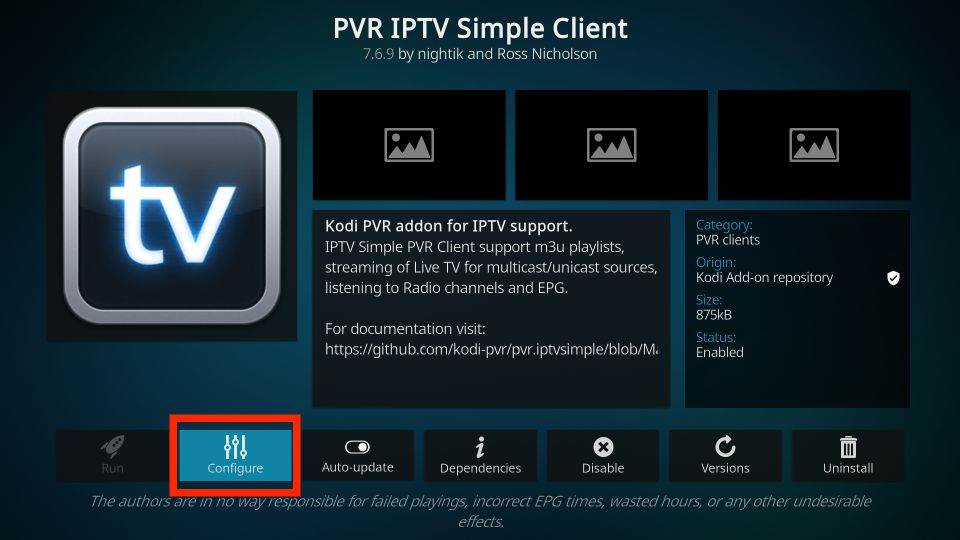
3.Then go to the “General” tab.
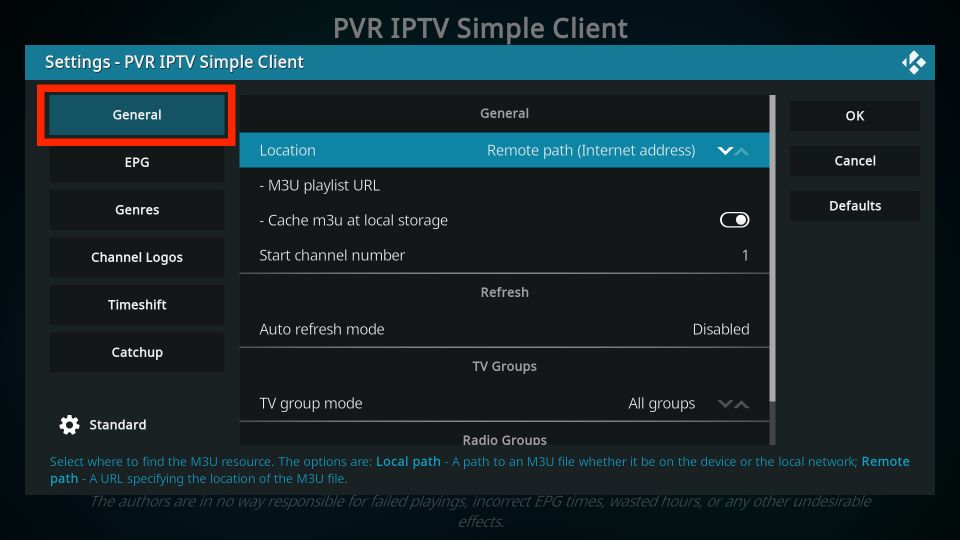
4.In the “General” tab, scroll down and select “M3U Playlist URL.”
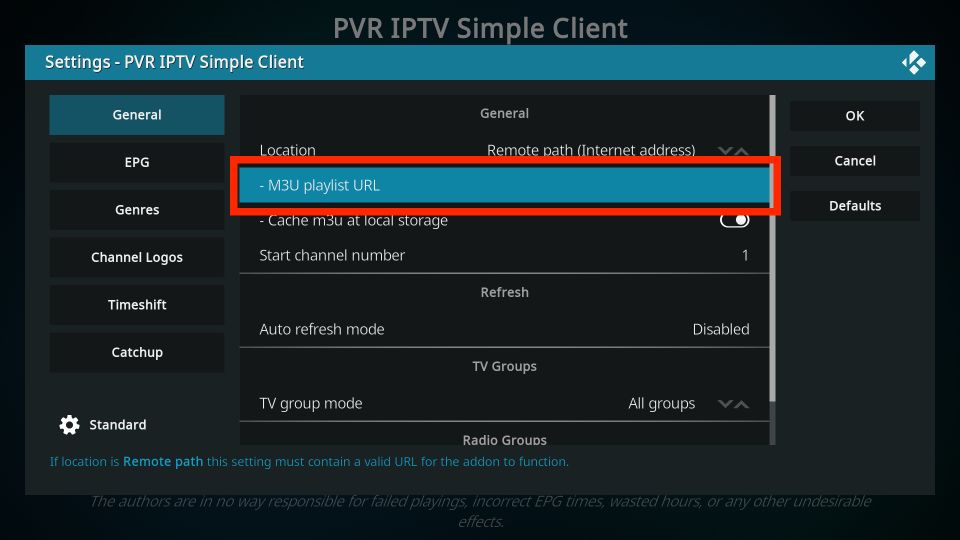
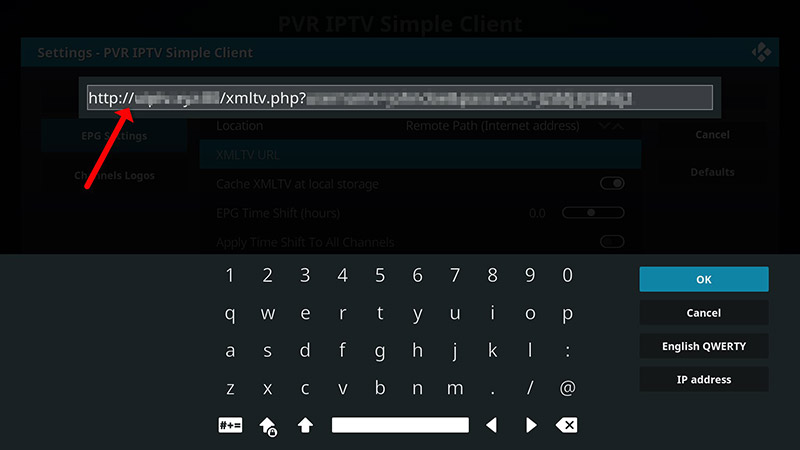
5.A window with a keyboard will appear. If you have an M3U playlist from your IPTV provider, you can add it now. If you don’t have an IPTV subscription, you can subscribe to IPTV Wereld, one of the best IPTV providers in Germany and europe.
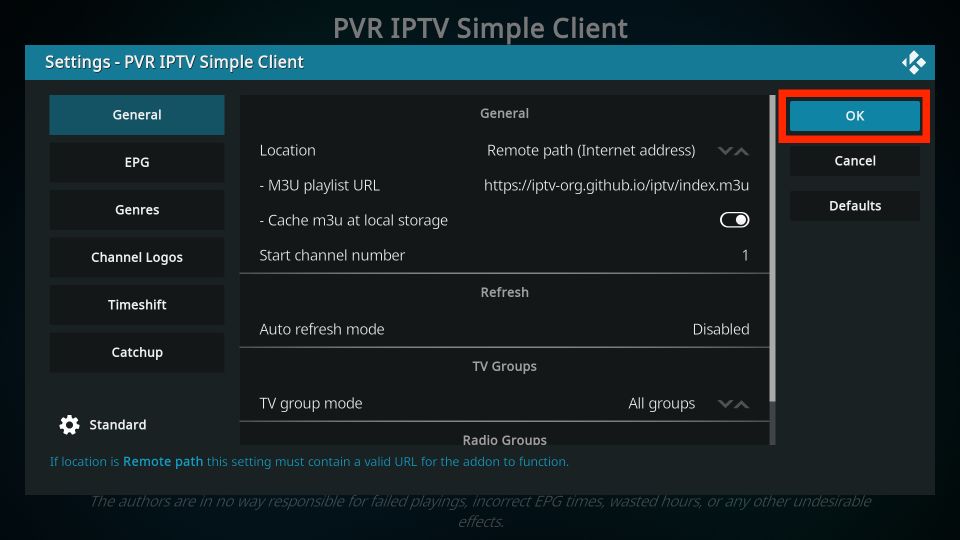
6.Click the “OK” button.
7.Exit the Kodi application and restart it.
8.After the restart, the PVR IPTV Simple Client will start automatically.
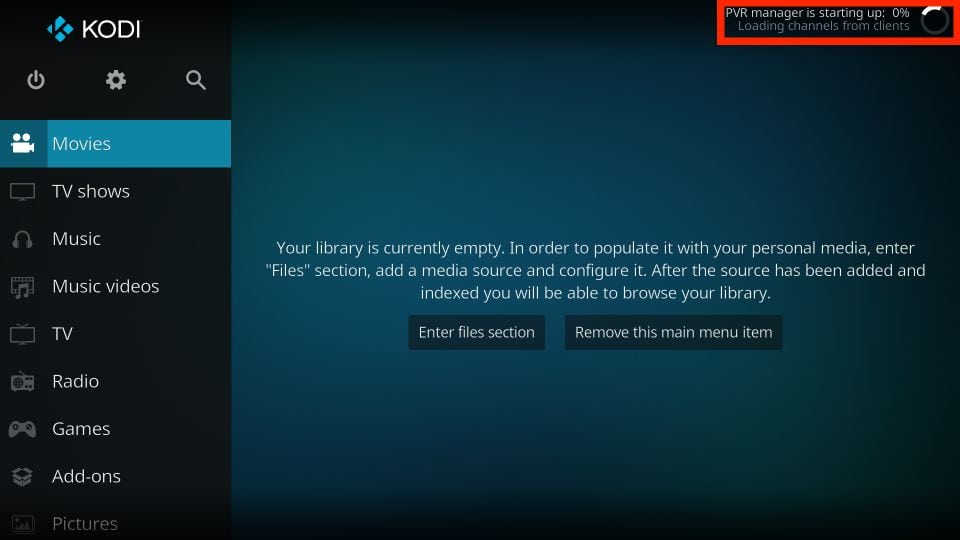
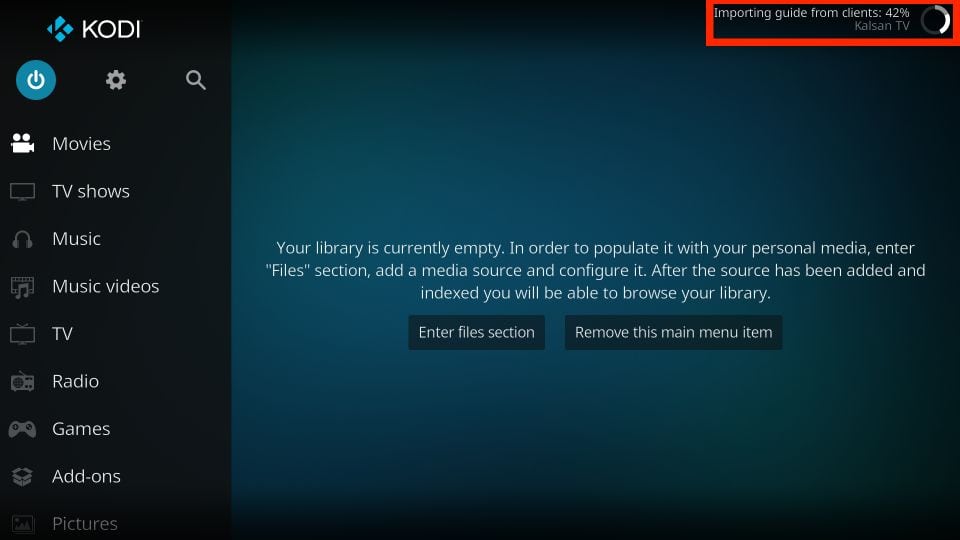
9.The PVR add-on will begin loading channels from the M3U playlist you entered. Wait for the add-on to finish importing the channels.
Watching IPTV with PVR IPTV Simple Client
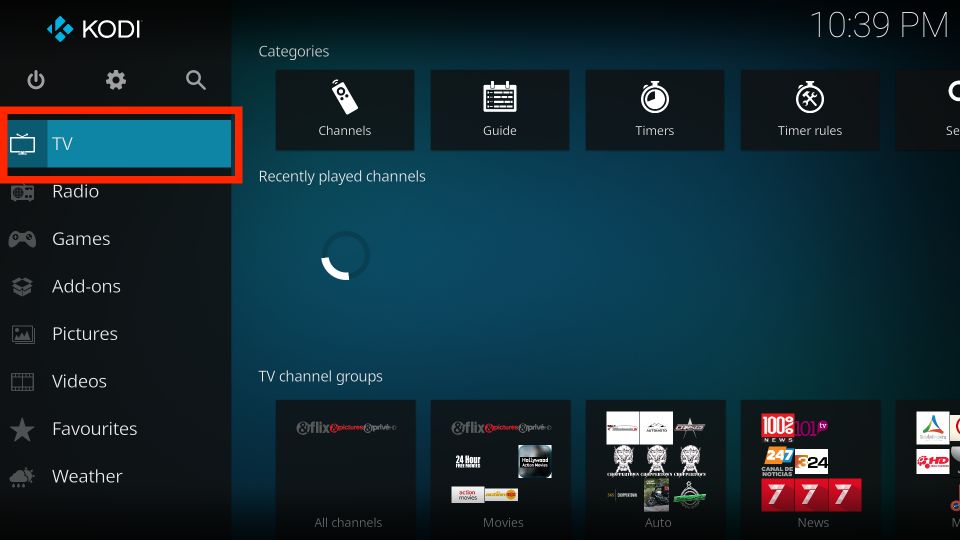
After adding the channels, scroll to the TV tab in Kodi.
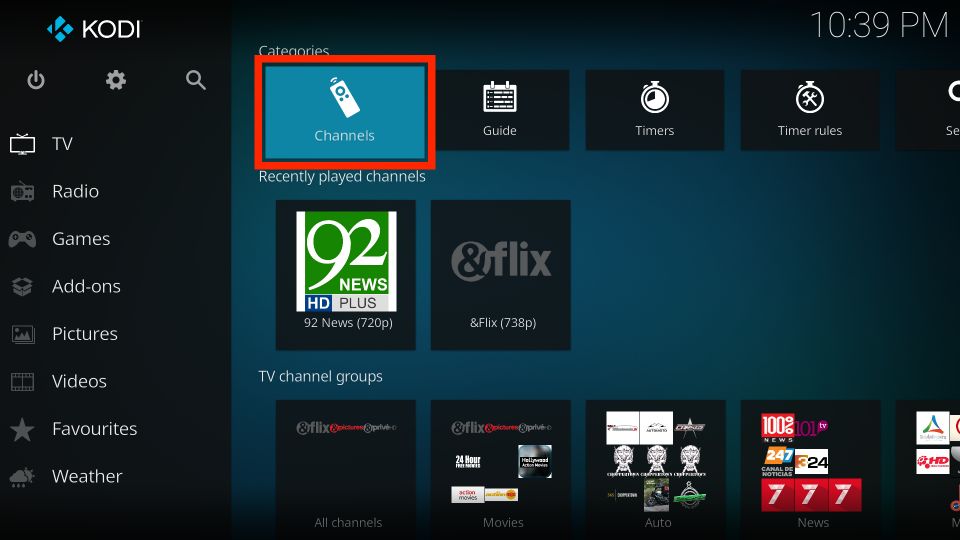
Then scroll right and click on the “Channels” option.
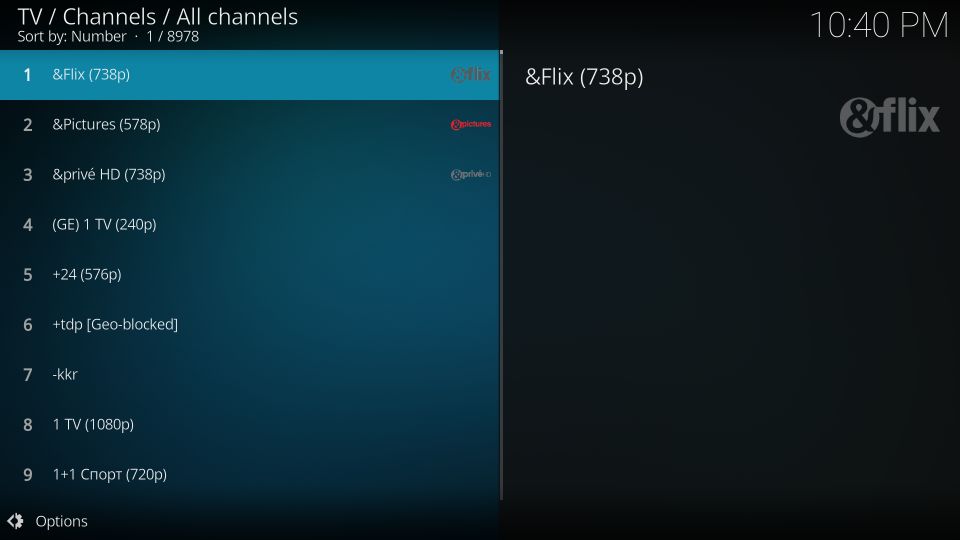
You’ll see a list of all channels from the M3U playlist(s) you added.
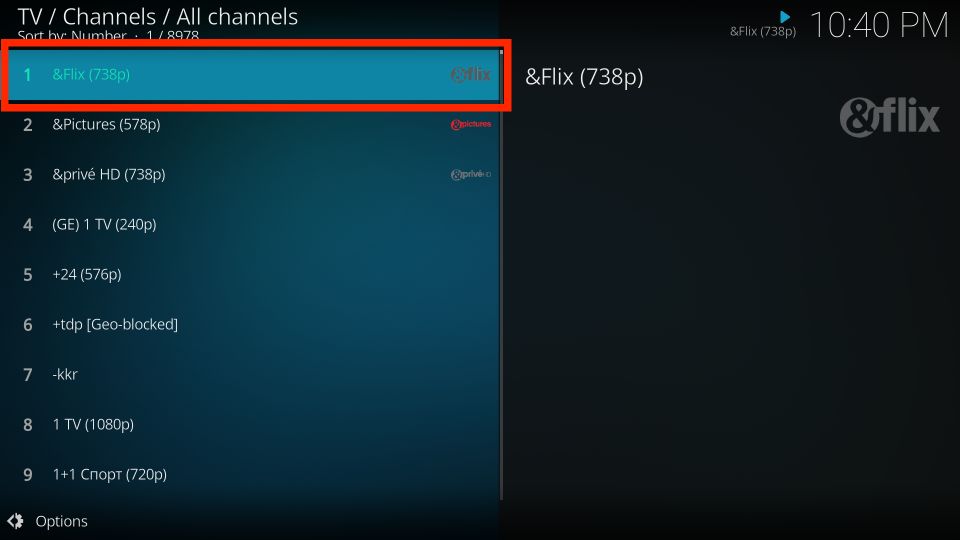
Select any channel, and playback will start after a few seconds.
Go back and scroll down to the line labeled “TV Channel Groups.” Here, you can access categories of channels. The “All Channels” tile is another way to view the list of all available channels.
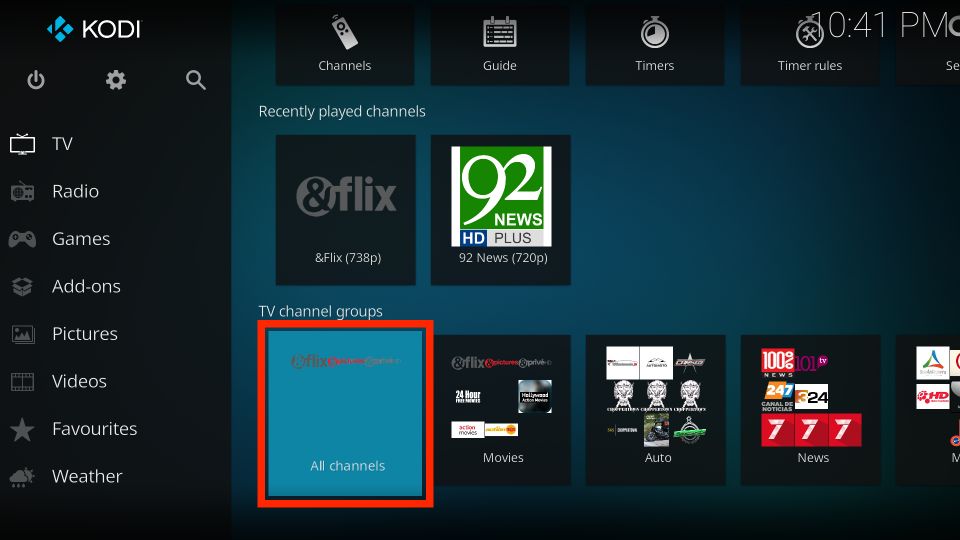
Select the “All Channels” tile.
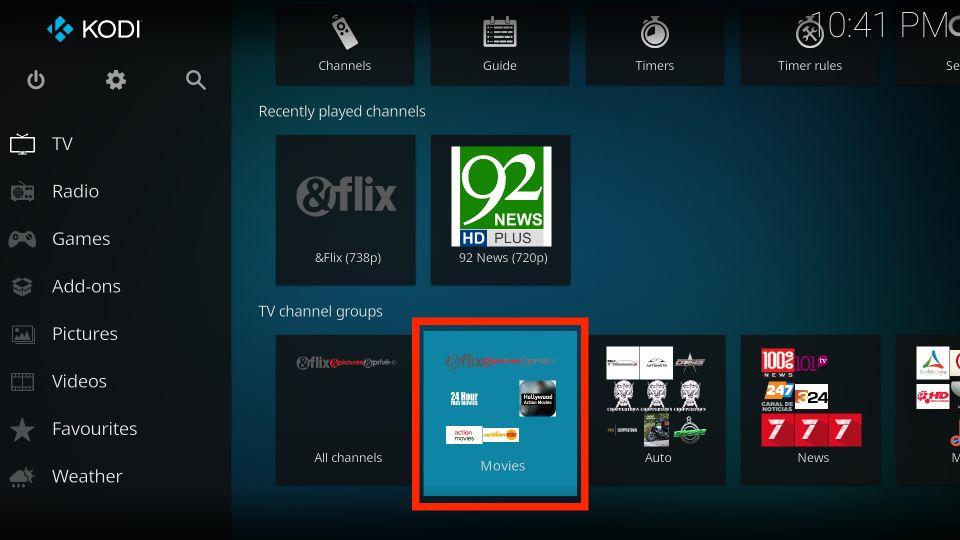
The “Movies” tile lists movie-related channels.
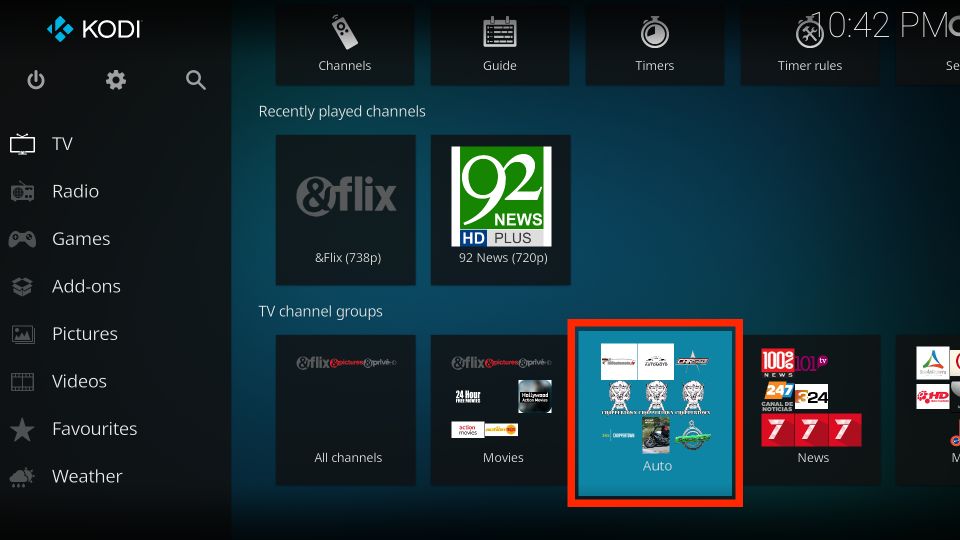
The “Auto” tile lists all channels related to motorsports.
To search for specific channels, scroll up in the right part of the screen and select the “Search” option at the far right of the top row.
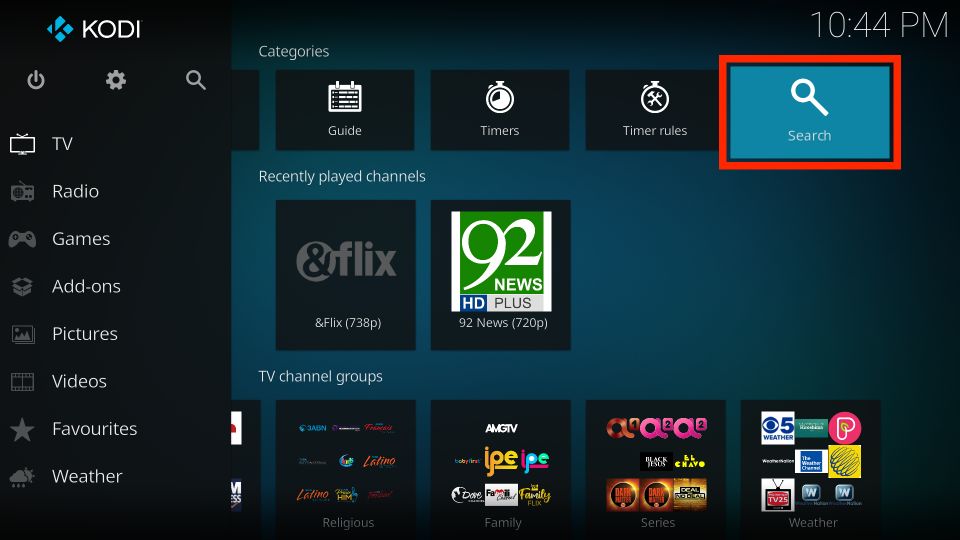
Then click on “Search…”
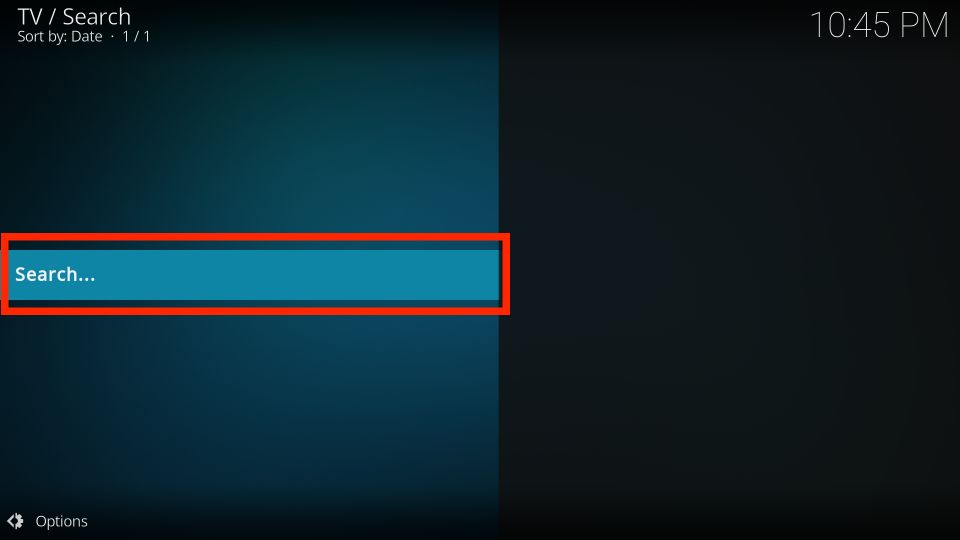
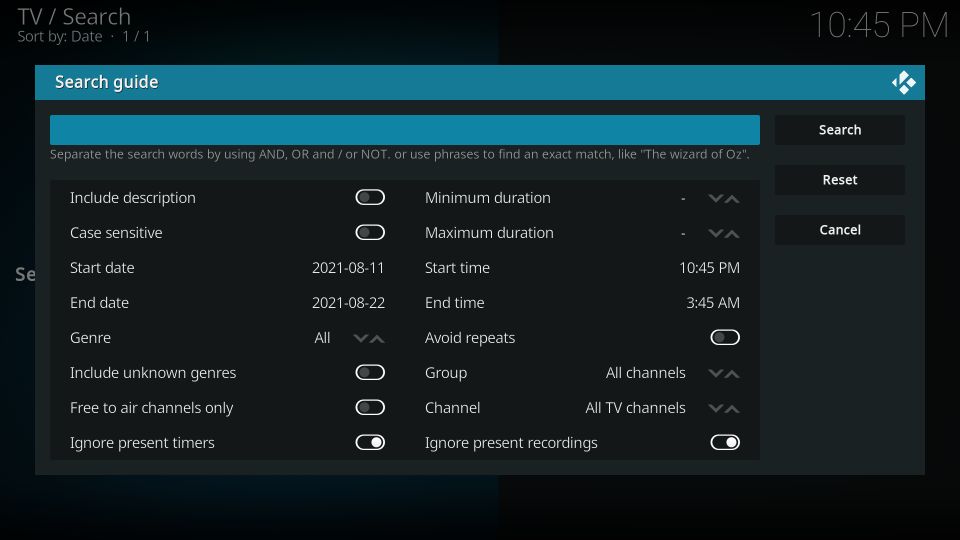
Enter what you’re looking for and click the “Search” button. Make sure to read the instructions and check the search settings to get the most out of the search tool.
